Below is a step-by-step guide to adding Expenses, Matches and Distributions. These are the next 3 steps suggested for enhanced analysis and reporting – especially for Portfolio Funnel Analysis and Channel Analysis.
Step 8: Add Expenses (Optional)
This step is optional but is required to populate expense, cost per and ROI values for channels and sources. To add expenses, follow these steps:
- Click on the ‘Admin’ button at the top right of the webapp. If you can’t see it, you may need to clear your cache, or ensure you have Admin permissions.
- Select ‘Expenses’ from the Admin menu, and navigate to the ‘Admin: Expenses’ section. Screen grab below.
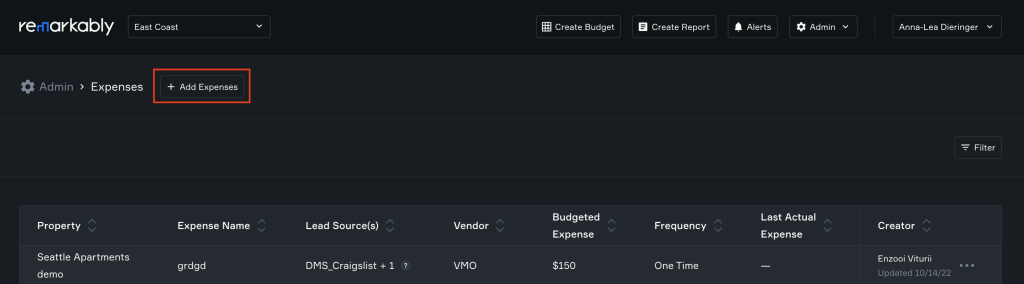
- In the ‘Expenses’ view, if you already have expenses added to Remarkably, you may see a grid containing a list of expenses you have Admin access to. If not, it’s time to add one!
- To add a new expense, click the ‘Add Expenses’ button (at the top of the ‘Expenses’ section).
- A form will launch to capture required expense information.
- Once you’ve saved your expense information, you’ll see it listed in the ‘Expenses’ grid.
- If you need to make a change to your expenses, you can click on the three dots at the far right of the expense row, which will then display the contextual menu. Select ‘Edit Expense’ from the menu. This will launch your form, and you can make changes as required and save them.
Step 9-10: Add Matches and Distributions (Optional)
These 2 steps are optional but are required to populate New Website Visitor values for channels and sources, and to enable the ‘Show Distributed Source Attribution’ toggle in Channel Analysis. To add matches and distributions, follow these steps:
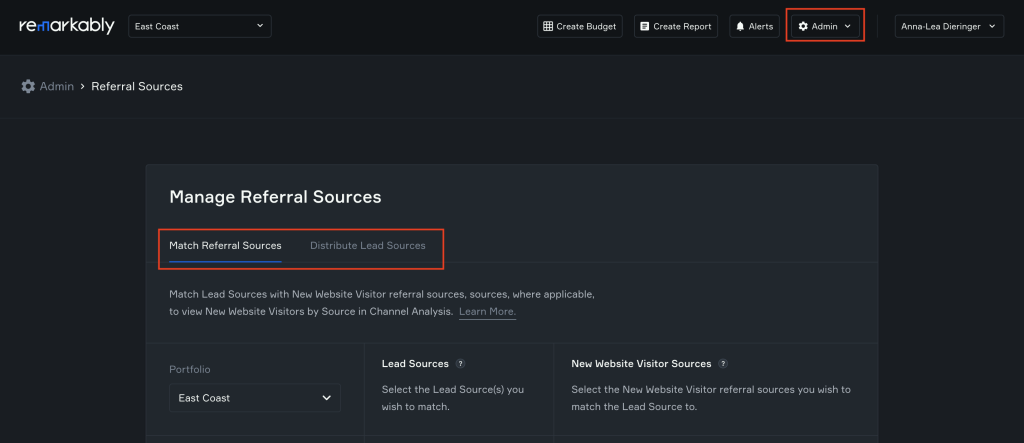
- Click on the ‘Admin’ button at the top right of the webapp. If you can’t see it, you may need to clear your cache, or ensure you have Admin permissions.
- Select ‘Referral Sources’ from the Admin menu, and navigate to the ‘Admin: Referral Sources’ section. Screen grab below of Referral Sources landing page and matching and distribution tabs.